
Guide
How to use Mini Maker 3D
Turn your photographs — or a written description — into detailed, 3D-printable scale miniatures. Follow the whole guide, or jump in — the studio walks you through each choice as you go.
What would you like to do?
Start from a photograph or from a description — both routes produce the same detailed, print-ready miniatures.
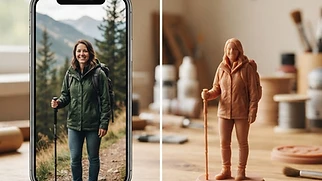
Turn Photos into 3D Models
Upload one to six photos and the AI sculpts a scale-accurate miniature from them — perfect for pets, people and anything you can photograph.
- Upload suitable photographs of your subject
- Choose a subject, pose and scale
- Review the generated preview and request changes
- Download your 3D model files
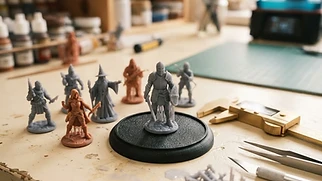
Create Miniatures from a Written Description
No photograph needed — describe a person, animal, character or object in your own words, and the AI designs the miniature from your description.
- Describe it in your own words
- Add optional finishing details
- Review the generated preview and request changes
- Download your 3D model files
Also need to print or view a file?
Print My STL File
Send your existing STL file (up to 100 MB) and we'll quote professional resin printing and delivery. Sign-in is required, and printing is quoted separately.
Request a print quoteView an STL File
Open an STL or OBJ in your browser — the file is parsed locally on your device and is never uploaded. Free, with no account needed.
Open the 3D viewerCreate an account
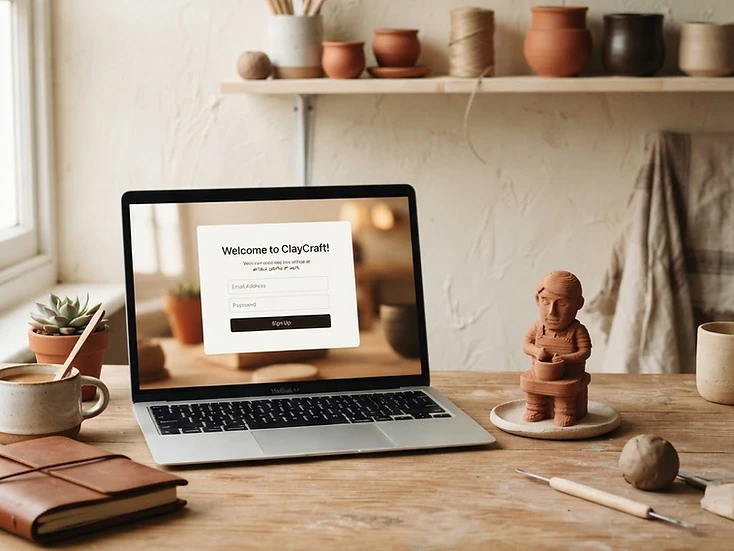
Select Sign in at the top of any page and create a free account with your email address, or sign in with Google. Your account keeps every model you make in one place, lets you save work in progress, and unlocks the community gallery. No payment details are needed to get started — your first model is free, one per eligible account.

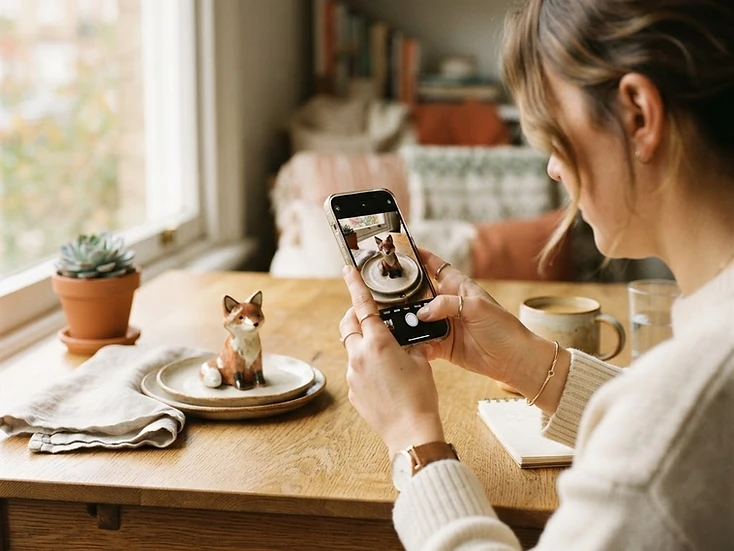
Take great photographs
The quality of your miniature depends on the quality of your photographs. Take sharp, well-lit photos at eye level with the subject filling the frame. Include a straight-on front view and a back view, and add side views or detail shots for faces, uniforms and markings. You can upload between one and six photos per model.
Avoid motion blur, harsh shadows and heavy filters — the AI reads shape and detail straight from your pictures.

Start a new model
Press New model in the header and pick your route: upload your photographs, or describe the subject in words if you have no photo (choose Create from description). Then choose what you are modelling — a person, animal or accessory — and pick a pose: standing, sitting, walking or a custom pose of your own description.

Set the scale and real-world height
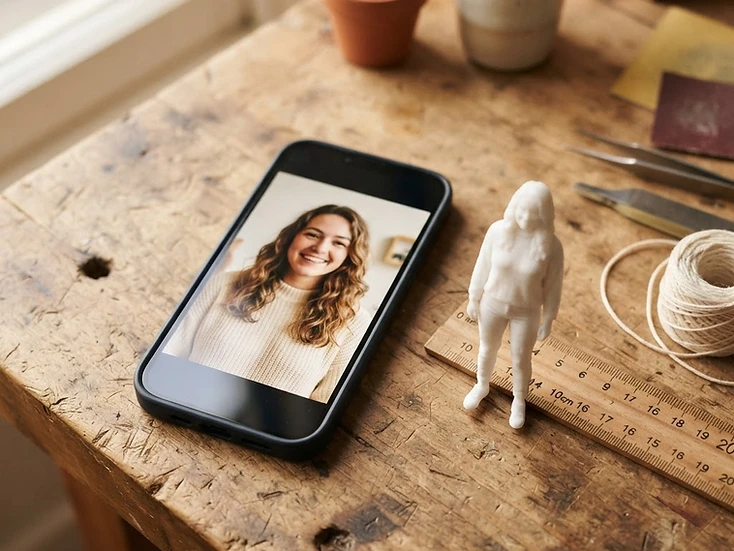
Choose your modelling scale — 1:32 and 1:35 are the most popular for railways and wargaming, with everything from 1:148 up to 1:12 available — or enter a custom scale. Then tell the studio the subject's real-world height; it works out the model height in millimetres, and you can override it if you prefer.
The 3D viewer shows a millimetre ruler against the model, so you always know exactly how tall the print will come out.

Choose the model settings
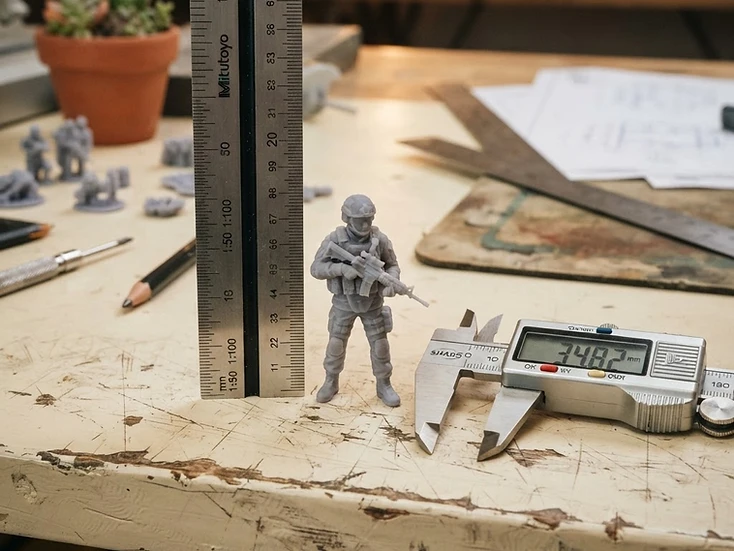
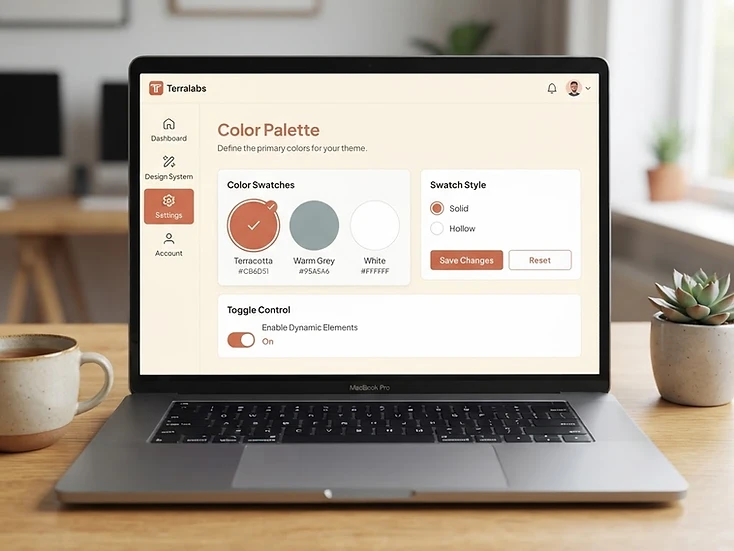
Pick the options that suit your printer and project: a terracotta, grey or white preview colour; no base or a circular base; a solid or hollow model; and choose the level of detail to suit your 3D printer — standard, enhanced or maximum.
Solid models are printed as one continuous block of material: heavier, slower and more costly, but very strong — best for small figures that get handled or painted often. Hollow models have an empty interior with a thin outer wall, so they use less material, print faster and cost less — ideal for larger display pieces, though they are more fragile.

Generate the reference sheets
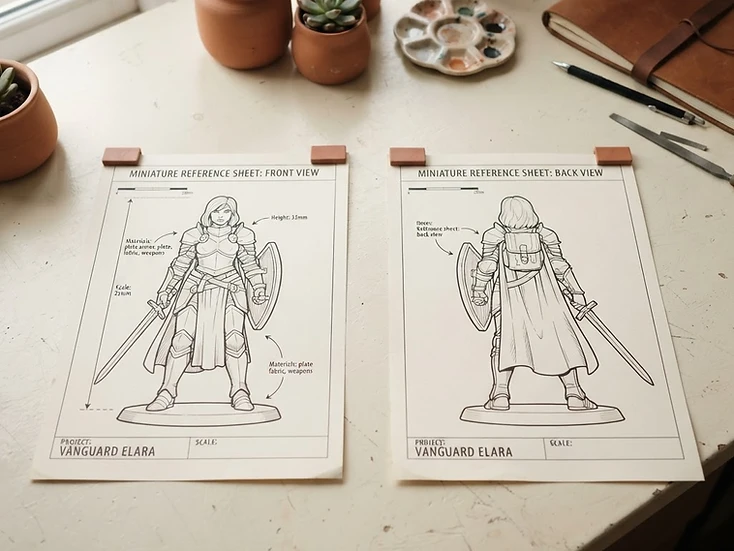
Confirm you have permission to use the photographs, then press Generate reference preview. In under a minute the AI produces reference sheets with a front and back view of your miniature based on your photos and settings.

Refine the design in the studio chat
Not quite right? Describe the change in plain English in the studio chat panel — adjust a pose, fix a uniform detail, change equipment — and the AI produces a new version. Refine as many times as you like; every version is kept so you can compare and switch between them.

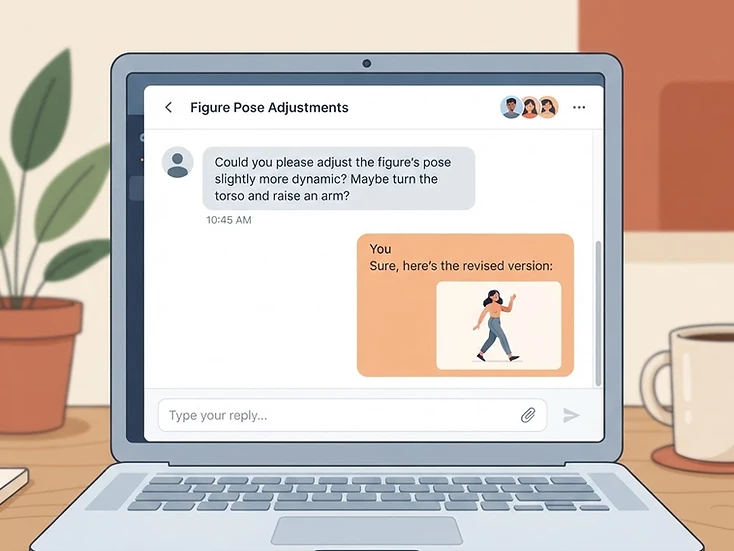
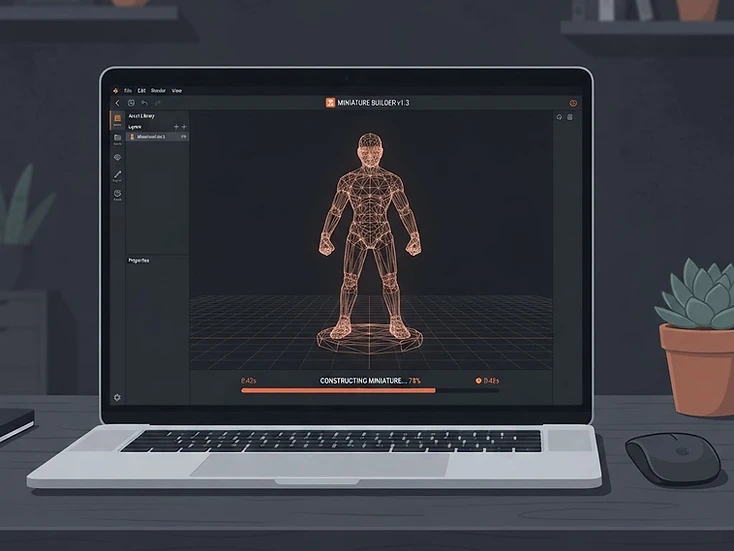
Approve and build the 3D mesh
Once you are happy with your design, approve it to begin creating your 3D model. Our system will generate a detailed 3D mesh and automatically check it for potential printing problems. You can then inspect your model in our interactive 3D viewer before downloading it.
Technical information
Automatic model checks run on every finished model: the file is cleaned up and checked over for common print problems before you download it. These checks catch many issues, but they cannot guarantee that every model will print successfully — your slicer and printer settings still matter, so do a test print where the result really matters.

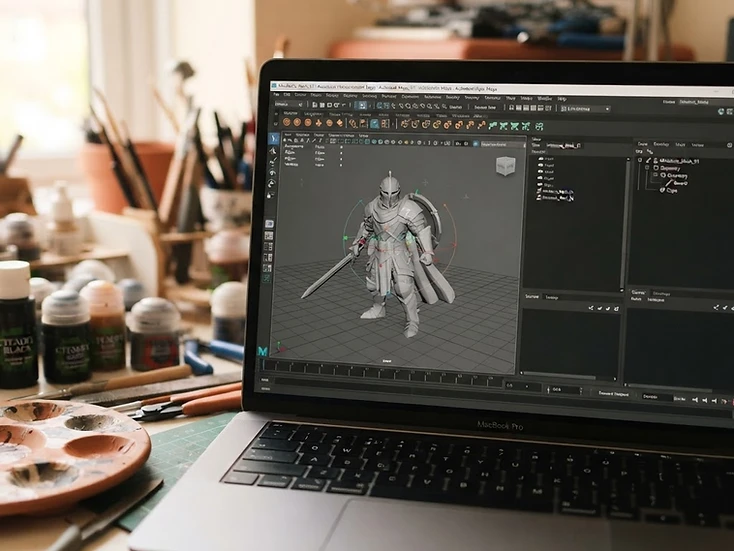
Inspect the model in 3D
Rotate the finished model in the interactive 3D viewer, zoom in on the details, and read the printability report — thickness warnings, detail limits and the automatic cleanup summary. Inspect it from every angle before you commit: hidden or unclear areas in your photos may have been reconstructed by the AI.

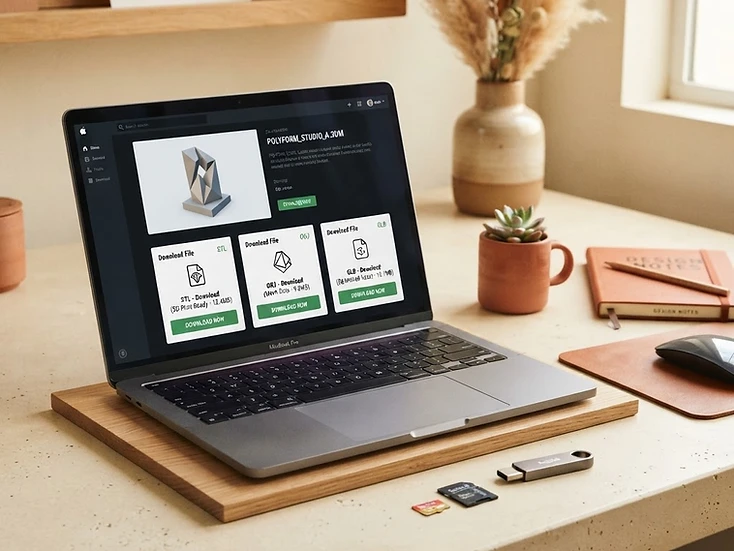
Download STL and GLB files
When you are happy with the preview, download 3D-printable files. Every model comes as an STL file for slicing, plus a GLB file for the interactive preview. Your first model is free, one per eligible account, no card required; after that you can pay £0.99 for a single-model pass, or subscribe for unlimited models. Each download link is secure and expires after a short time.
In everyday terms: STL is the format for 3D printing — it carries just the object's shape, as a shell of tiny triangles, and almost every printer or slicer accepts it. GLB is the modern all-in-one format — shape, colours and textures in a single file, which is why it makes the model look finished in viewers and on the web. In short: STL to print it, GLB to view or share it.

Print it yourself — or let us print it
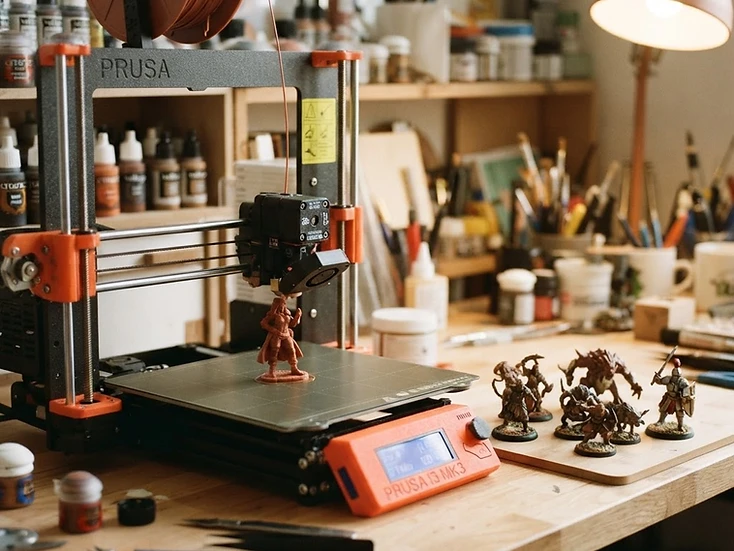
Load the STL into your own slicer and print at home, or press Print quote to send the files to our printing partner, Scale Model Figures, for a professional resin printing quote. Quotes include materials and shipping from the UK and delivery usually takes 7 working days.

Share, get feedback and licence
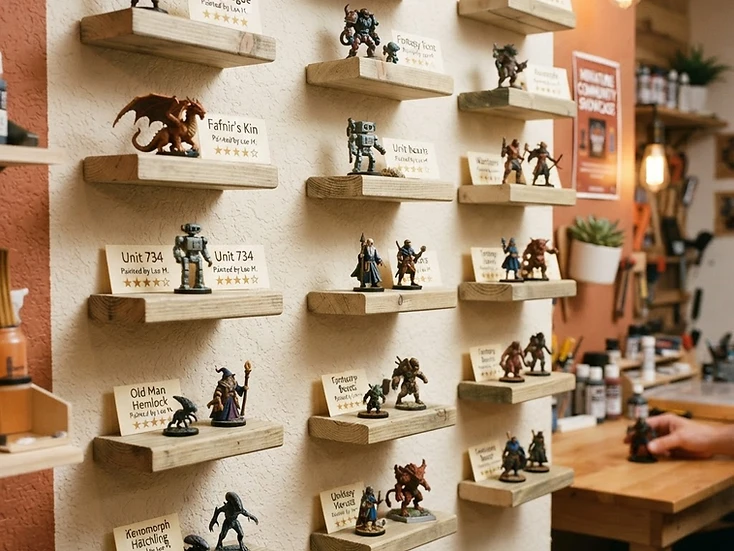
Finished models can be shared to the community gallery, where other subscribers can preview them in 3D and leave ratings. Your models come with a personal-use licence, which covers everything you make for yourself.

More Detail. More Realism. Worth the Extra Time.
When you choose enhanced detail, Mini Maker 3D studies your reference views together and captures finer features — buttons, insignia, facial detail, fabric folds — so the finished files carry much more geometry. More geometry simply means more work to prepare, on your device and in our workshop.
That's why preparing STL downloads for a highly detailed model can take 5 minutes or longer, and very large models can take longer still. Nothing is lost while you wait: your model and its files are saved to your account, and you can leave the page and come back whenever you like.
Occasionally a very detailed model is handed to our workshop for careful manual preparation. If that happens, the download panel will tell you — and you never need to regenerate your model or buy anything extra.
What it costs
Your first model is free — one per eligible account, no card required. After that, model creation is £0.99 per model, or £19.99/month for unlimited models with our standard generation engine. Prices cover digital model creation and STL downloads; physical printing is quoted separately.
Ready to make your first miniature?
You know how it works. Your first model is free — one per eligible account, no card required.
Start your free model